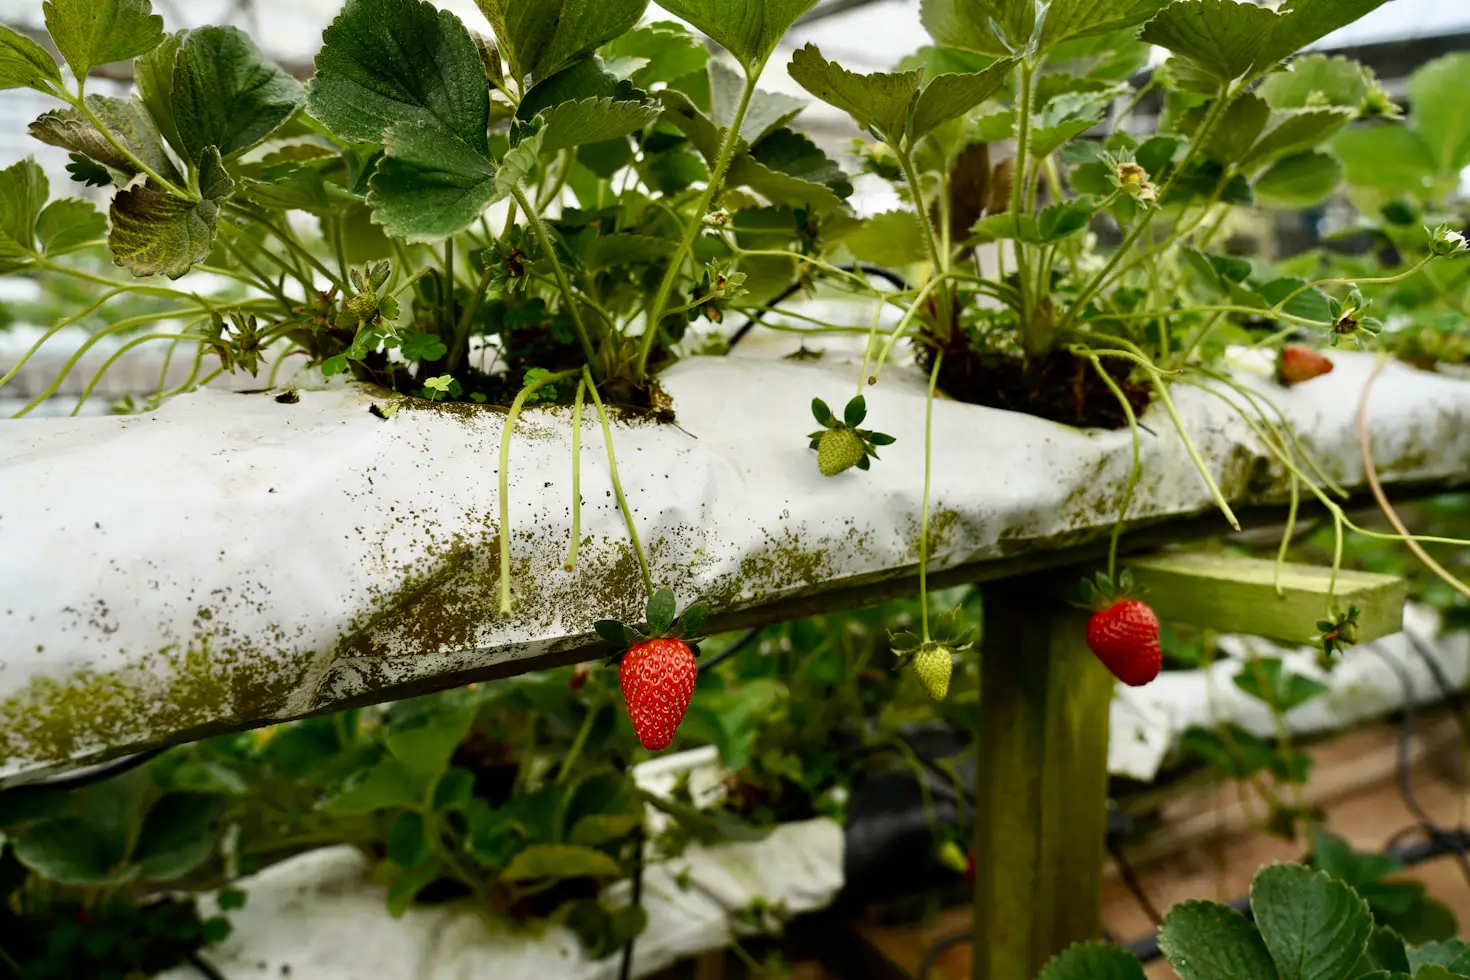
Hydroponics, growing plants without soil, has become incredibly popular among gardeners, apartment dwellers, and hobbyists who want fresh produce without needing a large outdoor space. While many people assume hydroponics requires expensive equipment, the truth is that you can learn how to build a cheap hydroponic system using everyday household materials and simple components. A low-cost hydroponic setup can grow lettuce, herbs, leafy greens, and even small fruiting plants with surprisingly high yields. In this guide, you’ll learn step by step how to create an affordable system, what materials you need, how to assemble it, and how to keep it running smoothly.
Why Build a Cheap Hydroponic System?
Many new growers hesitate to start hydroponics because of the perceived cost. Commercial systems can range from $100 to several thousand dollars, but DIY hydroponics can be assembled for a fraction of that. A simple system can cost as little as $15–$30, depending on the materials you choose.
Building your own setup has several benefits:
- Low startup cost: The DIY approach uses inexpensive, widely available tools.
- Customizable: You can scale your system for a kitchen counter, balcony, or full indoor grow room.
- Easy to maintain: Simple systems like Kratky or basic DWC require minimal monitoring.
- Efficient food production: Hydroponic plants grow faster and use far less water than soil gardening.
- Fun and educational: Building a system teaches valuable skills in plant care, design, and sustainability.
With just a little effort and creativity, you can produce fresh greens year-round without breaking the bank.
Choosing the Best Cheap Hydroponic System
Before you gather materials, choose which type of hydroponic system you want to build. The following low-cost systems are ideal for beginners:
1. Kratky Method (No pumps, no electricity)
The Kratky method is the cheapest and simplest hydroponic system ever created. Plants sit in a container filled with nutrient solution. As they grow and absorb water, the roots naturally gain access to oxygen. No pumps, timers, or electricity required.
Pros:
- Extremely cheap
- Beginner-friendly
- No moving parts or maintenance
- Perfect for lettuce, herbs, and greens
Cons:
- Not ideal for large fruiting plants
- Must refill nutrients manually
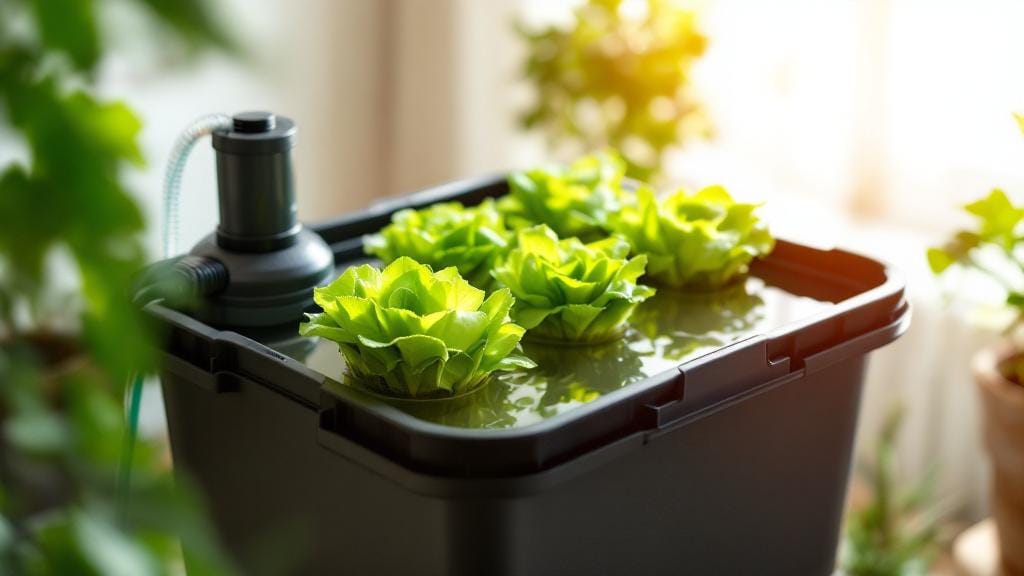
2. Deep Water Culture (DWC)
DWC uses an air pump and an air stone to oxygenate nutrient water. It’s still cheap to build, but slightly more advanced than Kratky.
Pros:
- Faster growth due to constant oxygenation
- Great for leafy greens and some small fruits
- Easy to scale
Cons:
- Requires electricity
- A pump failure can cause issues if not caught in time
3. Wicking System
Plants sit in a medium such as coco coir or perlite, and a wick pulls nutrient water to the roots.
Pros:
- Very low cost
- No electricity needed
- Low maintenance
Cons:
- Not ideal for water-hungry crops
- Growth can be slower than DWC
For this guide, we’ll focus on building a cheap DWC hydroponic system, because it provides fast growth, great yields, and easy customization, yet still costs under $25–$35.
Materials Needed to Build a Cheap Hydroponic System
You can find most materials at hardware stores, dollar stores, or online at low prices.
Basic Material List (Cost Approx. $20–$35)
- Plastic storage tote or bucket (2–5 gallons)
Preferably opaque to block algae growth. - Net pots (2–3 inches)
Inexpensive and reusable. - Growing medium
Clay pebbles, perlite, coco coir, or even aquarium gravel. - Air pump (cheap aquarium pump)
Essential for oxygenation. - Air tubing
Comes with most pumps. - Air stone
Helps diffuse oxygen into the water. - Hydroponic nutrients
A small bottle designed for leafy greens works best. - pH test kit or pH strips
Optional but helpful. - Drill or knife
To cut holes for net pots.
Optional additions (still low-cost):
- LED grow light (if growing indoors)
- pH up/down solution
- Timer (for lights only)
That’s all you need. With these items, you can build a working hydroponic system in less than an hour.
Step-by-Step: How to Build a Cheap Hydroponic System (DWC)
Step 1: Prepare the Container
Choose a storage tote or bucket that is strong, food-safe, and opaque. Light exposure causes algae growth, so darker is better.
Mark where your net pots will sit on the lid. For a small tote (10–15 liters), 3–6 holes are ideal.
Use a hole saw or a heated knife to cut openings slightly smaller than the rim of your net pots so they fit snugly.
Step 2: Install the Air System
Place the air pump outside the container to prevent water damage. Feed the air tube through a small hole or under the lid. Attach the air stone and place it at the bottom of the container.
This air stone will keep the nutrient solution oxygenated so roots never drown.
Step 3: Mix the Nutrient Solution
Fill the container with water, leaving 2–3 inches of space from the top. Add hydroponic nutrients according to the manufacturer’s instructions, usually around 5–10 ml per gallon.
Stir well.
Check the pH level if you have a test kit. Lettuce and most leafy greens prefer a pH of 5.5–6.2.
Step 4: Set Up the Plants
Start your seeds in rockwool, peat plugs, or coco pellets. If you’re not sure how to begin, follow our detailed guide on how to start hydroponics from seed to get healthy sprouts ready for your new system. Once seedlings have at least two true leaves, transfer them to net pots.
Fill the pots with your chosen medium to support the seedlings.
Place each pot into the lid openings. The bottom of the net pot should touch the nutrient solution at first, allowing young roots to drink and grow down.
Step 5: Position the System
Place your hydroponic system in a sunny location or under inexpensive LED grow lights. Indoor growers typically use 12–16 hours of light per day.
Now plug in the air pump. Bubbles should rise steadily, indicating proper oxygenation.
Your cheap hydroponic system is now fully functional.
Plants You Can Grow in a Cheap Hydroponic System
Even a low-budget hydroponic setup can grow a surprising number of plants successfully.
Best plants for cheap hydroponics:
- Lettuce (romaine, butterhead, loose leaf)
- Spinach
- Kale
- Basil
- Mint
- Parsley
- Cilantro
- Bok choy
- Swiss chard
Some small fruiting crops like dwarf tomatoes or peppers can grow in DWC, but they require more nutrients, stronger lighting, and bigger containers.
For beginners, start with leafy greens. They grow fast and rarely cause problems.
Maintaining Your Cheap Hydroponic System
Once your system is running, hydroponics becomes remarkably low-maintenance. However, following a few essential hydroponic growing tips will help you avoid common pitfalls and ensure your plants stay healthy from seedling to harvest.
Monitor Water Levels
Plants will drink water and cause nutrient levels to rise. Top off with fresh, plain water regularly to keep the EC from becoming too strong.
Check pH weekly.
Lettuce is sensitive to high or low pH levels. Aim for 5.5–6.2. If it drifts, adjust with pH up/down solutions.
Change Nutrient Solution Every 10–14 Days
This prevents nutrient imbalances and keeps the water clean.
Keep the Air Pump Running
DWC systems rely on oxygenation. Never turn off the air pump—roots need constant oxygen.
Watch for Signs of Stress
- Yellow leaves → nutrient deficiency
- Brown roots → poor oxygenation or root rot
- Slow growth → low light or poor nutrient mix
These issues are easy to fix by adjusting water, light, or nutrient levels.
How Much Does It Really Cost?
A complete DIY hydroponic system can be built for:
| Item | Cost |
| Storage tote | $5–$10 |
| Net pots | $3–$5 |
| Air pump + stone | $8–$12 |
| Nutrients | $5–$10 |
| Medium | $3–$5 |
| Total: | $20–$35 |
Compared to buying a commercial system for $100+, DIY hydroponics is dramatically cheaper and equally effective.
Troubleshooting Common Issues
Algae Growth
Caused by light entering the reservoir. Fix by:
- Using a darker container
- Closing gaps in the lid
- Covering the tote with reflective material
Wilting Plants
Likely due to low oxygen or a pump failure.
Check the air stone, tubing, and pump.
Nutrient Burn
Leaves get brown tips from excess nutrients.
Solution: dilute the reservoir with fresh water.
Slow Growth
Often caused by low light.
Increase distance and intensity of LEDs if needed.
Learning how to build a cheap hydroponic system is one of the best ways to start growing your own fresh produce at home without spending a lot of money. With just a plastic tote, an air pump, and basic nutrients, you can create a functional DWC system that grows fresh greens faster than soil can. Whether you’re looking to save money, eat healthier, or explore sustainable gardening, a DIY hydroponic setup is the perfect project for beginners and experienced growers alike.

