Learning how to start hydroponics from seed is one of the most empowering steps for anyone beginning a soilless gardening journey. Growing plants hydroponically allows you to control nutrients, water, and lighting with precision—and it all starts with healthy seedlings. Although the idea of growing plants without soil might feel intimidating at first, starting seeds for hydroponics is simple once you understand the right techniques and materials.
This guide breaks down the entire process step-by-step so you can confidently germinate seeds and transition them into a thriving hydroponic system.
Why Start Hydroponics From Seed?
Many growers begin plants in soil or buy transplants, then move them into a hydroponic setup. But starting from seed has important advantages:
1. Cleaner and Safer for Your System
Soil-grown seedlings may carry pests, fungi, or bacteria that can contaminate your hydroponic environment. Seeds grown in sterile medium start clean and healthy.
2. More Cost-Effective
Seeds cost far less than nursery plants. This matters especially for large systems requiring dozens of plants.
3. Better Root Structure
Seedlings started in inert mediums like rockwool or coco plugs develop roots that adapt naturally to water-based environments.
4. More Plant Variety
Nurseries may carry limited hydroponic-friendly cultivars. Starting from seed lets you grow any variety you want—from exotic herbs to specialty lettuces.
With these benefits in mind, let’s explore exactly what you need to get started.
Materials Needed to Start Hydroponics From Seed
Before you begin the germination process, gather the following supplies:
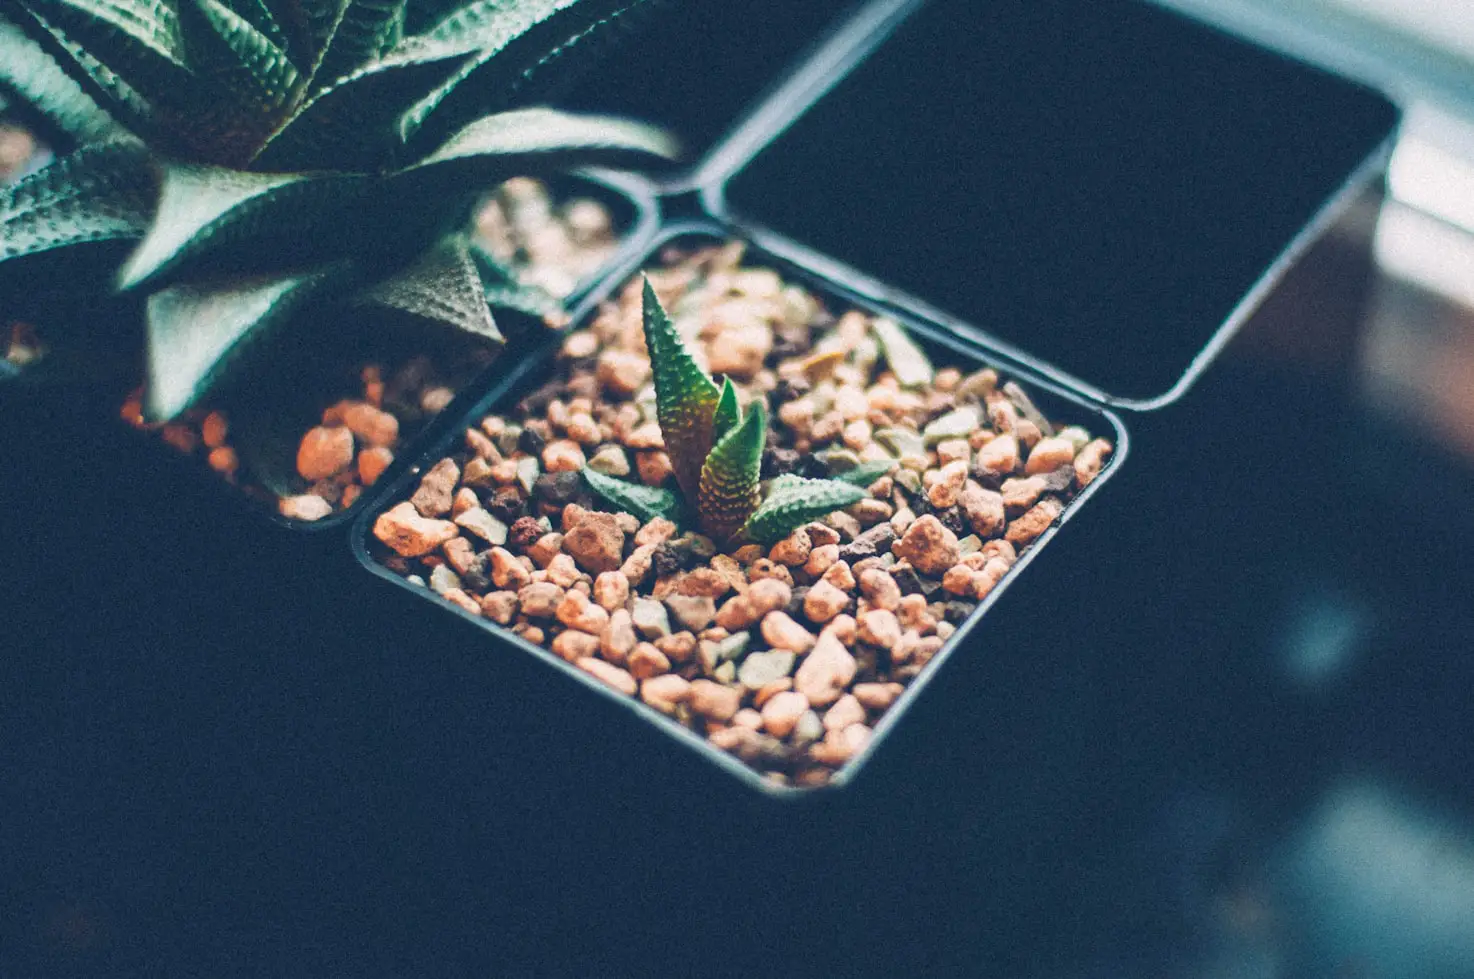
1. Seed-Starting Medium
Hydroponics requires soil-free, sterile materials. Popular options include:
- Rockwool cubes – excellent moisture retention and widely used in hydroponics.
- Rapid Rooter plugs – made from organic materials and easy for beginners.
- Coco coir plugs – sustainable, forgiving, and seedling-friendly.
- Jiffy pellets – peat-based and work well for many crops.
- Perlite + vermiculite mix – light, airy, ideal for DIY setups.
These mediums provide moisture while allowing roots to breathe, which is essential for fast germination.
2. Seeds
Choose high-quality seeds, ideally labeled:
- Non-GMO
- Untreated
- Suitable for hydroponics
Good beginner crops include:
- Lettuce
- Spinach
- Basil
- Kale
- Swiss chard
- Bok choy
- Cilantro
- Arugula
Tomatoes, peppers, and cucumbers are also possible but require more care.
3. Seed Tray and Humidity Dome
A tray keeps your cubes or plugs organized, while a humidity dome traps moisture and warmth—both important for germination.
4. pH-Adjusted Water
Hydroponic seeds germinate best when watered with pH-balanced water:
pH range: 5.5–6.0
5. Grow Lights
Healthy seedlings require 14–16 hours of strong light as soon as they sprout. LED grow lights are ideal because they stay cool and provide proper spectrum.
6. Spray Bottle
Used to gently moisten seeds and seedlings without disturbing them.
Step-by-Step: How to Start Hydroponics From Seed
Here is the complete process to germinate seeds and prepare seedlings for your hydroponic system.
Step 1: Prepare the Growing Medium
Each medium must be conditioned before seeds are sown.
Rockwool Cubes
Rockwool is slightly alkaline, so adjusting pH is essential.
- Mix water with a pH of 5.5.
- Soak cubes for 20–30 minutes.
- Shake off excess water—don’t squeeze.
This prepares the cubes for optimal germination.
Coco Coir or Rapid Rooter Plugs
These need far less preparation:
- Moisten plugs with pH-balanced water.
- Allow them to drain until they’re damp, not dripping.
Roots love these airy plugs.
Perlite/Vermiculite Mix
For growers who prefer custom blends:
- Mix 50% perlite and 50% vermiculite.
- Moisten with pH-adjusted water.
- Fill small cells or cups.
Once your medium is ready, you’re ready to plant.
Step 2: Plant the Seeds
Proper planting ensures uniform germination.
- Use the hole already present in plugs—or make one about ¼ inch deep.
- Place 1–2 seeds in each cube or cell.
- Lightly cover, unless using rockwool or Rapid Rooter, which usually don’t require covering.
- Mist gently with a spray bottle.
Tip: Planting two seeds increases germination success. After they sprout, keep the strongest one.
Step 3: Maintain Moisture and Humidity
Moisture is the key factor in germination.
- Keep the medium consistently damp but not saturated.
- Use a humidity dome to trap moisture.
- Avoid puddles or standing water at the bottom of the tray.
Excess water reduces oxygen, slowing germination and risking mold.
Step 4: Keep Seeds Warm During Germination
Most seeds sprout best between 70–78°F (21–26°C).
- If your room is cool, use a seedling heat mat.
- Keep the tray away from cold windows or drafts.
Warmth accelerates germination and promotes uniform sprouting.
Step 5: Add Light Once Seeds Sprout
Seeds do not require light while buried—but seedlings need strong light immediately after emergence.
- Use LED grow lights 4–8 inches above the seedlings.
- Provide 14–16 hours of light daily.
- Keep lights close enough to prevent stretching, but not so close they burn the leaves.
Poor lighting is the #1 cause of tall, weak seedlings.
Step 6: Begin Feeding With Light Nutrients
Once seedlings develop their first true leaves (the second set of leaves), they need nutrients.
Prepare a gentle nutrient solution:
- EC 0.4–0.6 (about ¼ strength)
- pH 5.5–6.0
Water the medium lightly with this solution. Seedlings are delicate, so avoid overfeeding.
Step 7: Increase Airflow and Reduce Humidity
As seedlings grow, they must be prepared for the open-air environment of your hydroponic system.
Gradually strengthen them by:
- Opening the humidity dome vents.
- Removing the dome entirely after a few days.
- Using a small fan on low to simulate natural breeze.
This helps build sturdy stems and reduces risk of fungal problems.
Step 8: Transplant Seedlings Into the Hydroponic System
After 2–3 sets of true leaves appear and roots begin to poke out of the cubes, your seedlings are ready.
How to transplant successfully:
- Lift seedlings by the cube—not the stem.
- Place the entire plug into a net pot.
- Surround with clay pebbles if needed for support.
- Ensure the bottom of the cube reaches the moisture or nutrient flow.
Plants may droop briefly after transplant but quickly recover.
Common Mistakes to Avoid When Starting Hydroponics From Seed
Even dedicated growers can make mistakes. Here are the most common issues and how to avoid them:
1. Overwatering the Medium
Too much water deprives seeds of oxygen, causing slow sprouting.
2. Insufficient Light
Seedlings become leggy and weak when light is too dim or too far away.
3. Adding Nutrients Too Early
Seeds contain their own food. Adding nutrients before true leaves appear can burn young roots.
4. Incorrect pH
Hydroponic plants are extremely pH-sensitive. Aim for a pH of 5.5–6.0 consistently.
5. Waiting Too Long to Transplant
Root-bound seedlings transition poorly into hydroponic systems.
Best Plants to Start Hydroponically From Seed
Some plants are naturally easier in hydroponics, especially for beginners.
Best for fast success:
- Lettuce
- Kale
- Basil
- Arugula
- Spinach
- Bok choy
- Swiss chard
More advanced options:
- Tomatoes
- Peppers
- Cucumbers
- Strawberries
Starting simple helps you learn the hydroponic environment before tackling demanding crops.
Learning how to start hydroponics from seed is a foundational skill for building a productive, healthy hydroponic garden. The process is simple when broken down:
- Prepare a sterile, moisture-balanced growing medium
- Keep seeds warm and damp
- Provide strong light once they sprout
- Feed lightly only after true leaves appear
- Strengthen seedlings with airflow
- Transplant at the right time
Once you master seed starting, the rest of hydroponic growing becomes far more predictable and rewarding. Whether you’re building a small kitchen setup or a full indoor garden, healthy seedlings give you the best possible start.

