


Raised garden beds are an excellent way to grow vegetables, herbs, and flowers in a controlled, accessible environment. They provide better drainage, improved soil quality, and easier maintenance compared to traditional in-ground gardens. While you can buy pre-made raised beds, building them yourself is often more cost-effective and allows for customization. One of the most budget-friendly and sustainable methods is to use wooden pallets. Pallets are widely available, often free, and can be transformed into functional raised beds with a little effort.
This guide will walk you through everything you need to know to make raised garden beds from pallets, including preparation, safety considerations, assembly, soil selection, planting, and ongoing maintenance.
Why Use Pallets for Raised Garden Beds?
Pallets are ideal for DIY garden projects for several reasons:
- Affordable and Accessible: Many pallets are discarded by businesses and can be obtained for free or very cheaply.
- Sturdy Construction: Pallets are designed to hold heavy loads, making them strong enough for soil and plants.
- Eco-Friendly: Reusing pallets reduces waste and promotes sustainable gardening practices.
- Customizable Size: Pallets can be cut and arranged to fit any garden space.
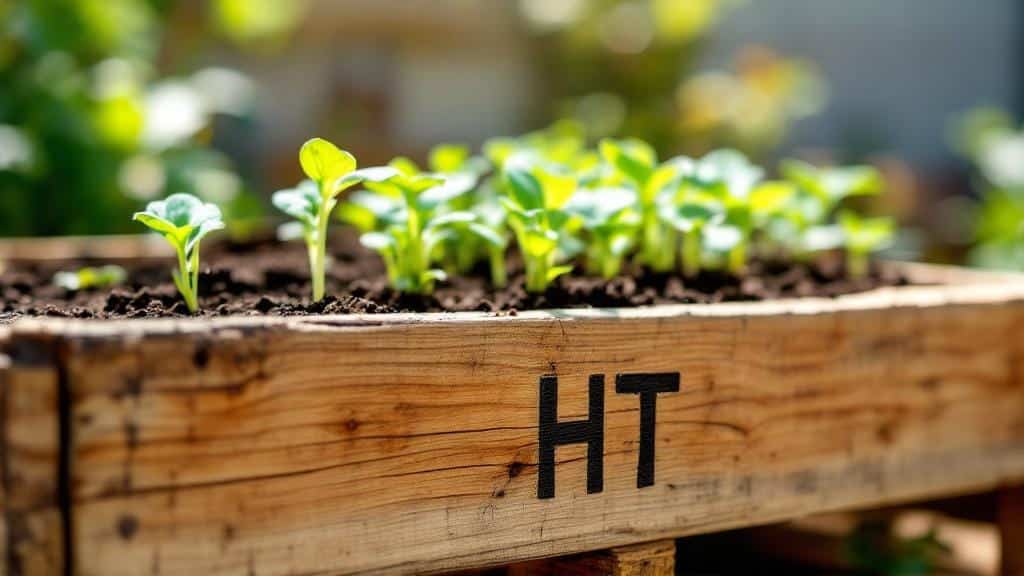
However, it’s important to choose the right type of pallet to avoid chemical contamination. Avoid pallets treated with chemicals, often marked with “MB” for methyl bromide. Look for HT (heat-treated) or EPAL pallets, which are safe for gardening.
Look for HT (heat-treated) or EPAL pallets, which are safe for gardening. You can check the international standards for pallet safety and markings to ensure your wood is chemical-free.
Step 1: Planning Your Raised Garden Bed
Before you start building, plan the size, location, and number of beds you want. Consider the following:
- Sunlight: Most vegetables and flowers need at least 6–8 hours of direct sunlight daily.
- Accessibility: Leave space around the bed for easy access and maintenance.
- Soil Depth: Aim for at least 12 inches of soil for most vegetables; deeper beds are better for root vegetables.
- Number of Beds: Decide whether you want one large bed or multiple smaller beds. Smaller beds are easier to manage and improve soil drainage.
Measure your chosen space and mark the layout using stakes and string. Having a clear plan ensures your pallets fit properly and your beds are level.
Step 2: Selecting and Preparing Pallets
Not all pallets are safe for garden use. Follow these steps to choose the right ones:
- Check for Chemical Treatments: Look for stamps on the pallet. Avoid “MB” (methyl bromide) and select “HT” (heat-treated) or “KD” (kiln-dried) pallets.
- Inspect for Damage: Choose pallets that are intact and free of cracks or rot.
- Clean the Pallets: Wash pallets with water and a mild soap solution to remove dirt, dust, and debris. Allow them to dry completely.
Optional: Sanding the pallets smooths rough edges and prevents splinters, making handling safer.

Step 3: Disassembling and Cutting Pallets (Optional)
Depending on your design, you may want to disassemble pallets to use individual boards or cut them to size. Use a crowbar, hammer, or circular saw to carefully remove boards. If you prefer a more rustic look, you can also use the pallets intact without cutting.
Safety tip: Wear gloves, safety goggles, and a dust mask when disassembling or cutting pallets, as nails and splinters are common hazards.
Step 4: Assembling Your Raised Garden Bed
Now it’s time to construct your raised bed. You can use either intact pallets or individual boards for a more customized shape.
Using Intact Pallets
- Stand a pallet on its side to form one end of the bed.
- Place another pallet perpendicular to it to form the corner.
- Connect the pallets using screws or brackets.
- Repeat for the remaining sides to form a rectangle or square.
Using Individual Boards
- Cut boards to your desired length.
- Screw or nail the boards together to form a rectangular or square frame.
- Add corner posts for stability, especially if your bed is large.
Optional: Add a bottom liner to prevent soil from leaking. Use landscape fabric, old carpet, or cardboard, which also helps suppress weeds.
Step 5: Securing and Reinforcing the Bed
Pallets are sturdy, but additional reinforcement ensures your bed lasts longer. Consider these steps:
- Add Corner Braces: L-shaped brackets or wooden posts inside corners prevent shifting.
- Use Ground Stakes: Drive stakes into the ground at each corner and along the sides to anchor the bed.
- Check for Leveling: Use a level to ensure your bed sits evenly. Uneven beds may lead to water pooling and soil erosion.
Step 6: Preparing the Soil
The soil in raised beds is crucial for healthy plant growth. Unlike traditional gardens, raised beds require a well-balanced mix for optimal drainage and nutrients.
Recommended Soil Mix
- 40% topsoil
- 40% compost
- 20% organic matter (peat moss, coconut coir, or well-rotted manure)
Mix these components thoroughly before filling the bed. You can also add slow-release fertilizer to provide extra nutrients over the growing season.
Step 7: Filling the Bed
Once your soil mix is ready:
- Pour the soil into the pallet bed slowly, spreading it evenly.
- Gently pat down the soil to remove air pockets, but avoid compacting it too much.
- Ensure the soil is level with the top of the pallet frame, leaving a small gap to prevent spillage during watering.
For deeper root vegetables, you may want to layer soil in two or three stages, allowing for better settling.
For deeper-rooted vegetables, you may want to layer soil in two or three stages. This setup is particularly effective if you plan to grow potatoes in raised beds, as they need extra depth and loose soil for maximum yield.
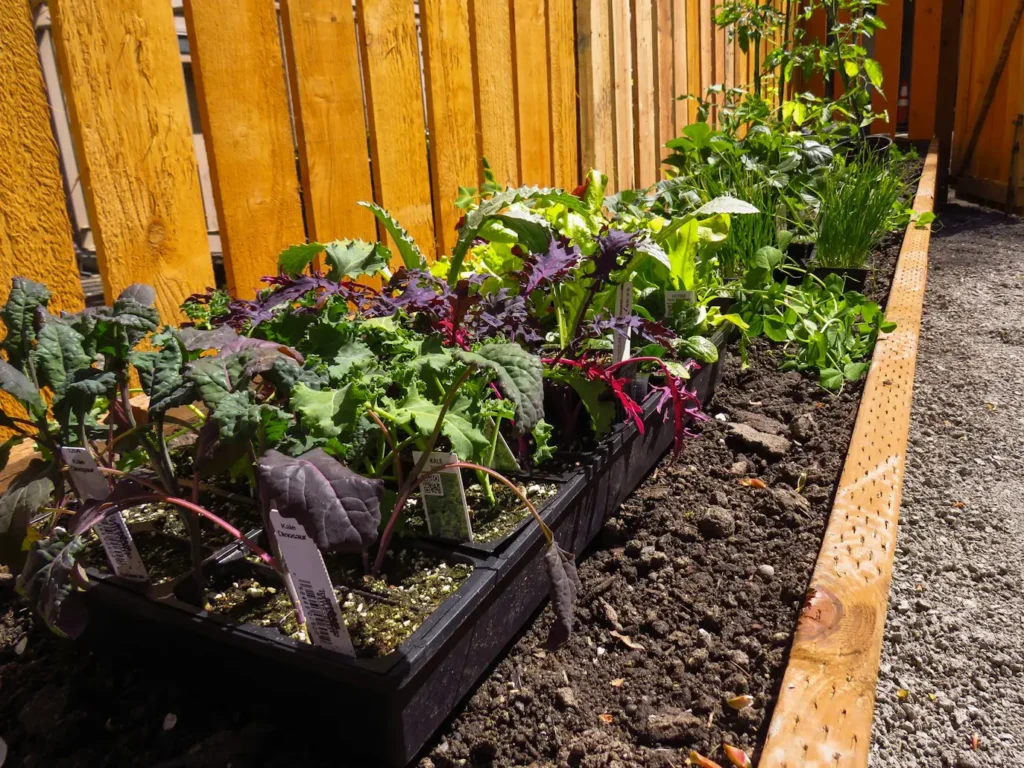
Step 8: Choosing Plants for Pallet Raised Beds
Raised beds work well for a variety of plants. Consider your garden goals:
- Vegetables: Lettuce, spinach, tomatoes, peppers, radishes, carrots.
- Herbs: Basil, parsley, thyme, cilantro, and rosemary.
- Flowers: Marigolds, nasturtiums, pansies, petunias.
When planting, group plants with similar water and sunlight needs together for easier maintenance. If you want to maximize space and aesthetics, consider planting herbs in flower beds within your palette. Mixing aromatic herbs like rosemary and thyme with flowers like marigolds not only looks beautiful but also helps with natural pest control.
Mixing aromatic herbs like rosemary and thyme with flowers like marigolds not only looks beautiful but also helps with natural pest control. Additionally, you can strategically place pot plants in garden beds, especially for invasive species like mint, to enjoy their benefits without letting them take over the entire soil space of your new pallet structure.
Step 9: Planting and Watering
- Dig holes or furrows in your soil according to the plant’s requirements.
- Place seedlings or seeds gently and cover with soil.
- Water thoroughly after planting to settle the roots.
Raised beds dry out faster than in-ground gardens, so consistent watering is important. Using a soaker hose or drip irrigation ensures deep watering and reduces water waste. Mulching the soil surface also helps retain moisture.
Step 10: Maintenance and Care
Maintaining pallet-raised beds is easier than traditional gardens, but they still require attention:
- Weeding: Raised beds reduce weeds but don’t eliminate them. Regularly remove weeds to reduce competition.
- Fertilizing: Add compost or organic fertilizer every 4–6 weeks to keep plants nourished.
- Pest Control: Inspect plants for pests and use natural solutions like neem oil, insecticidal soap, or companion planting.
- Bed Care: Check pallets for signs of rot, cracks, or loose boards each season. Replace damaged components as needed.
Optional: Apply a non-toxic wood sealant to extend the life of your pallet bed and protect it from moisture.
Step 11: Advantages of Pallet Raised Beds
Building raised beds from pallets offers several advantages:
- Low Cost: Often free or inexpensive compared to store-bought beds.
- Eco-Friendly: Reuses discarded materials, reducing waste.
- Customizable: Fit your space and design preferences.
- Portable: Small beds can be moved if needed.
- Better Soil Control: You decide the soil type and nutrient content.
With proper care, pallet beds can last 3–5 years or more, making them a sustainable choice for gardeners of all levels.
Raised garden beds made from pallets are a practical, economical, and environmentally friendly way to grow plants. With careful planning, safe pallet selection, and proper soil preparation, you can create a durable, functional, and attractive garden space.
By following this guide, you’ll learn not only how to build the bed but also how to fill, plant, and maintain it for optimal growth. Whether you’re growing fresh vegetables, aromatic herbs, or colorful flowers, a pallet raised bed offers a versatile gardening solution. With a little effort, creativity, and consistent care, your DIY pallet garden will provide beauty, flavor, and satisfaction for years to come.