


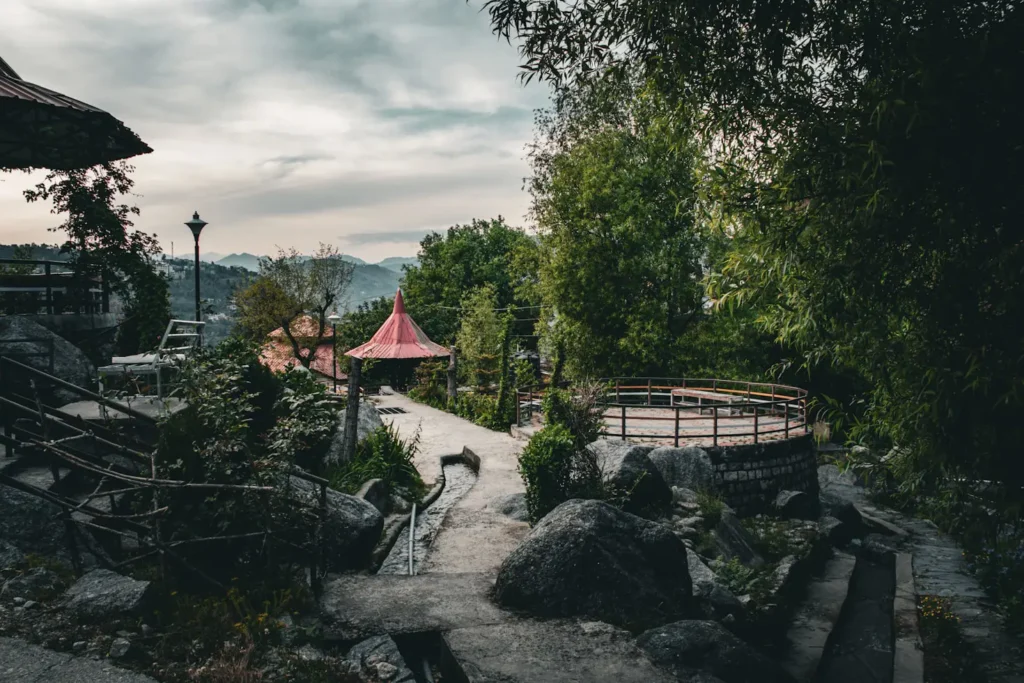
If you’re looking for a garden that’s both beautiful and low-maintenance, a rock garden (or rockery) might be the perfect choice. Rock gardens combine natural stones with hardy plants to create a landscape that mimics a mountain slope or alpine meadow. The result is a peaceful, textural garden that looks amazing year-round and requires much less care than traditional flower beds.
In this guide, you’ll learn exactly how to build a rock garden from scratch, from choosing the right location and rocks to planting and maintenance.
Creating a rockery is an art that brings a piece of the mountains to your home. If you want a more technical walkthrough, you can follow our detailed step-by-step guide on how to make a rockery garden to ensure your project’s success from day one.
🪨 1. What Is a Rock Garden?
A rock garden is a style of landscape design that uses stones, gravel, and plants suited for well-drained, often dry soil. It’s designed to look like a natural hillside, where plants grow between rocks, in crevices, or on gentle slopes.
This type of garden is perfect for:
- Sloped or uneven ground
- Areas with poor soil
- Busy gardeners who want something attractive but low-maintenance
Rock gardens highlight texture, color, and contrast rather than lush greenery making them ideal for modern yards, small spaces, or even urban patios.
🌞 2. Choose the Perfect Location
The most important step in building a rock garden is choosing where to place it.
Ideal conditions:
- A sunny spot, most rock garden plants love sunlight.
- Well-drained soil water should not collect or stay long after rain.
- A slope or raised area gives depth and a natural flow.
Avoid shaded or soggy areas, as these can harm rock plants and cause moss or mold on stones.
If you don’t have a natural slope, don’t worry, you can create a raised bed or small mound using soil and rocks.
🧱 3. Gather Materials and Tools
Here’s what you’ll need to build your rock garden:
Materials
- Large and medium-sized rocks (granite, limestone, sandstone, etc.)
- Smaller stones or pebbles
- Gravel or crushed rock for drainage
- Coarse sand or grit
- Good-quality topsoil
- Compost or organic matter
- Rockery plants or alpine plants
Tools
- Spade and shovel
- Wheelbarrow
- Garden gloves
- Rake
- Trowel
- Hose or watering can
🌱 4. Plan Your Design
A good rock garden looks natural and balanced. Before you start digging, sketch your design on paper or visualize it on the ground.
Consider:
- Shape and size: A kidney or curved shape often looks most natural.
- Height variation: Create small rises or tiers for depth.
- Rock placement: Think about where large “anchor stones” will go first.
- Plant zones: Place taller plants at the back or top, smaller ones near the edges.
👉 Pro Tip: Study photos of real mountain slopes or natural rocky areas for inspiration. Notice how rocks overlap and how plants grow in small cracks, try to mimic that.

🔨 5. Prepare the Ground
Now it’s time to prepare your garden base properly. This ensures your rock garden will last for years.
Step-by-Step Ground Preparation:
- Clear the Area:
Remove all weeds, grass, and roots. Dig about 20–25 cm (8–10 inches) deep. - Lay a Drainage Layer:
Add 10 cm of gravel, rubble, or broken bricks. This helps excess water drain away. - Add Soil Mix:
Mix:- 1 part garden soil
- 1 part compost
- 1 part coarse sand or grit
Spread this over the drainage layer and firm it down gently.
This soil structure provides perfect conditions for alpine plants that love dry, gritty environments.
🪨 6. Position the Rocks
Placing the rocks is where creativity meets structure. The goal is to make them look like a natural part of the landscape, not just placed there.
Tips for Rock Placement:
- Start with the biggest rocks; these are your foundation stones.
- Bury about one-third of each large rock below the soil for stability and realism.
- Tilt rocks slightly backward or sideways to mimic natural layers.
- Arrange rocks in irregular groups rather than straight lines.
- Fill spaces between large rocks with smaller stones or gravel.
Once you’ve placed the main stones, step back and look from different angles adjust until the arrangement feels natural.
🌸 7. Choose the Right Plants
The beauty of a rock garden lies in the contrast between rocks and plants. Choose species that thrive in sunny, well-drained soil and don’t need much water.
Great Plants for Rock Gardens
Alpines:
- Saxifraga
- Aubrieta (Rock Cress)
- Phlox subulata
- Campanula (Bellflower)
Succulents:
- Sedum (Stonecrop)
- Sempervivum (Hens and Chicks)
- Echeveria
Perennials:
- Lavender
- Thyme
- Dianthus (Pinks)
Grasses and Ferns:
- Festuca glauca (Blue Fescue)
- Miniature ferns for shaded corners
Planting Tips:
- Place plants in small groups, not evenly spaced rows.
- Mix textures, combine trailing plants with upright ones.
- Keep taller plants toward the center or higher areas.
- Leave enough space between plants to grow naturally.
Most rockery favorites are hardy species. Learning about the characteristics of alpine plants will help you understand why they need gritty soil and minimal water to thrive in a rock garden environment.
🌾 8. Planting in the Rock Garden
Once your rocks are arranged and plants selected, it’s time to plant.
- Dig small holes between the rocks.
- Add a little grit or sand at the base of each hole for drainage.
- Gently position the plant and fill around it with the soil mix.
- Firm the soil lightly with your hands.
- Water gently just enough to settle the roots.
After planting, cover the surface with a thin layer of gravel mulch. This keeps soil cool, reduces weeds, and gives a polished finish.
🌦 9. Maintaining Your Rock Garden
Rock gardens are low-maintenance, but a little care keeps them looking perfect.
Regular Tasks:
- Weeding: Pull weeds early before they spread.
- Watering: Light watering during hot months; don’t overwater.
- Trimming: Remove dead leaves and faded flowers regularly.
- Feeding: Use a mild, slow-release fertilizer once or twice a year.
- Replenish Soil: Add grit or compost every 2–3 years to refresh.
In winter, cover sensitive plants with fleece or mulch to protect them from frost.
🌺 10. Optional Design Additions
Once your basic rock garden is ready, you can make it even more beautiful with creative touches:
- Mini Pond or Waterfall: Adds sound and movement to your garden.
- Stepping Stones: Create small paths through your rockery.
- Lighting: Use soft solar lights to highlight rocks at night.
- Driftwood or Sculptures: Adds rustic or artistic appeal.
These details help personalize your rock garden and make it a true reflection of your style.
⚠️ 11. Common Mistakes to Avoid
Even experienced gardeners can make small errors when building a rock garden. Here are some to avoid:
- Mixing too many rock types, stick to one kind for a natural look.
- Skipping drainage layers causes root rot and waterlogging.
- Overcrowded plants need air and space to grow.
- Place all rocks on the surface; bury at least a third for stability.
- Overwatering rock plants prefer dry soil.
Avoid these, and your garden will thrive for years.
🌳 12. Enjoy Your Creation
Once finished, step back and admire your work. You’ve created more than just a garden; you’ve designed a small, living landscape that changes with the seasons. Over time, moss may grow on the stones, and plants will fill out naturally, making your rock garden look even more authentic.
Whether you build it in a small yard, along a driveway, or beside a pond, your rock garden will always add character and calm to your outdoor space.
Building a rock garden is a fun and fulfilling project that blends creativity, design, and nature. It doesn’t demand much space or time, just thoughtful planning and patience. With the right rocks, plants, and layout, even a small corner of your yard can be transformed into a stunning, low-maintenance oasis.
So grab your gloves, pick out some beautiful stones, and start building your rock garden today. In a few weeks, you’ll have a peaceful, evergreen feature that you can enjoy for years to come.